Custom display cabinets enhance product visibility, brand identity, and space efficiency. Whether for retail, museums, or homes, tailored solutions maximize impact. This guide covers key customization options and expert tips.
1. Planning Your Custom Display Cabinet
A. Define Your Needs
- Purpose: Retail (product focus) vs. museum (preservation focus)
- Space Constraints: Measure width/depth/height (±5mm tolerance)
- Budget: Standard (pre-fab) vs. premium (full customization)
B. Material Selection
| Material | Best For | Pros |
|---|---|---|
| Tempered Glass | High-end retail | Scratch-resistant, 99% UV protection |
| Stainless Steel | Commercial kitchens | Hygienic, rust-proof |
| Solid Wood | Luxury/home displays | Classic aesthetic |
2. Key Customization Options
A. Lighting Solutions
- LED Strip Placement: Backlit (for ambiance) vs. overhead (for clarity)
- Color Temperature: 3000K (warm) for jewelry, 4000K (neutral) for food
- Smart Controls: Motion sensors or app-based dimming
B. Shelving & Layout
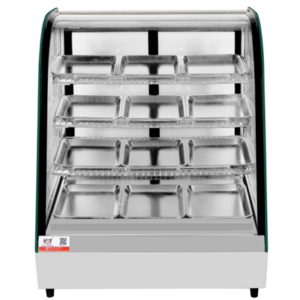
- Adjustable Shelves: Peg holes or sliding brackets
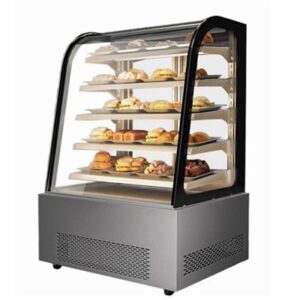
- Angled Displays: 15°–30° tilt for better product visibility
- Modular Units: Stackable sections for flexible rearrangements
C. Door Styles
- Sliding Doors: Space-saving (ideal for narrow aisles)
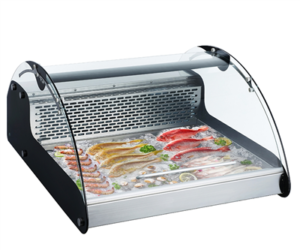
- Curved Glass: 360° visibility (perfect for center displays)
- Touchless Openings: Motion sensors for hygiene-focused settings
3. Advanced Features
- Integrated Digital Screens: For pricing or promotions
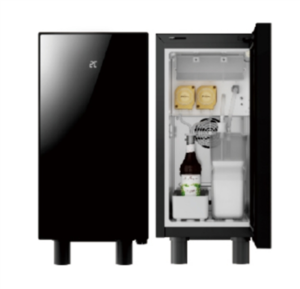
- Climate Control: Humidity/temperature regulation for artifacts
- Anti-Theft Locks: Biometric or RFID access
4. Step-by-Step Customization Process
- Consult a Designer – Share sketches or 3D models.
- Prototype Review – Test functionality with a mockup.
- Material Approval – Confirm finishes/colors.
- Installation – Professional setup recommended.
5. Cost-Saving Tips
✔ Use Standard Sizes – Reduces fabrication time by 30%.
✔ Prioritize Key Features – Focus budget on critical elements like lighting.
✔ Bulk Orders – Discounts for 5+ units.